This post is sponsored by Home Depot
Happy Monday my friends! As I mentioned last week, I’m over the moon excited to be hosting this Home Depot #DIHWorkshop Virtual Party.
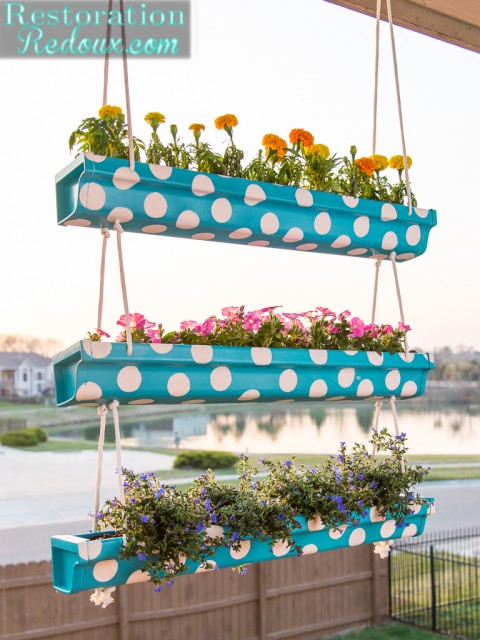
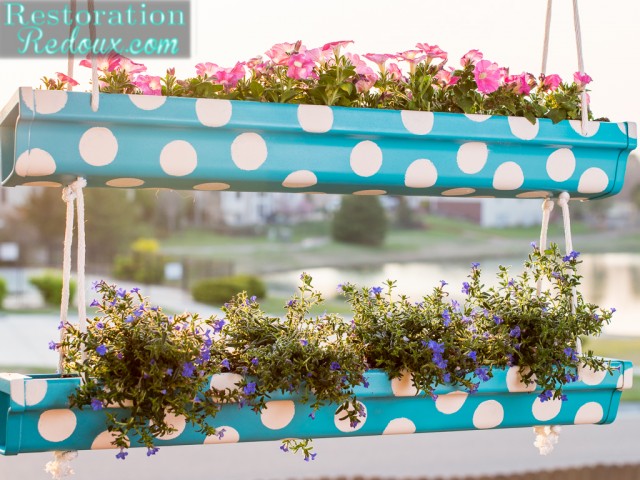
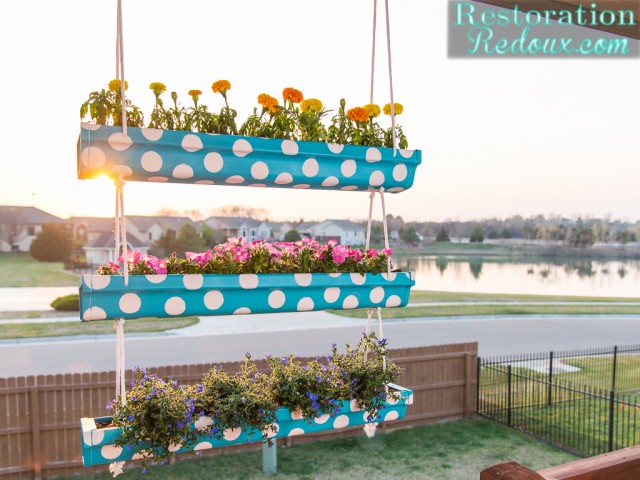
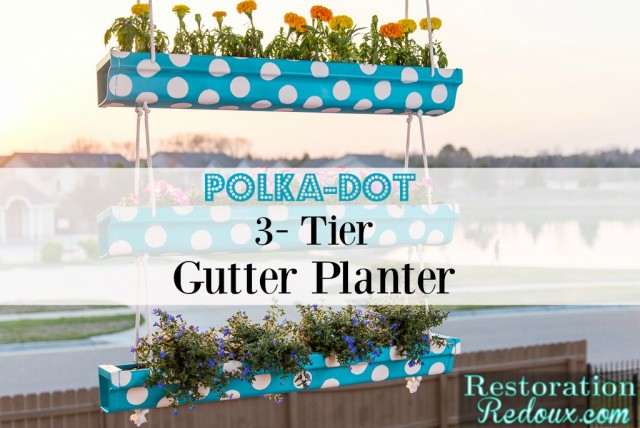
I built this Polka-Dot, 3 Tiered Gutter Planter and the other ladies in the party did their own amazing versions also! They are linked at the bottom of the page.
For the last couple of years, I have been working on sprucing up the inside of the house and have totally neglected the outside. With my daughter’s graduation open house coming up in a few weeks, I realized that people will be seeing the outside as well, so I better do a few things to brighten things up.
On the front step, I have my Fairy Garden which gives a little bit of color, but it’s not really something you can see from the street, so I knew I wanted a bold color and something that had a bit of height to it.
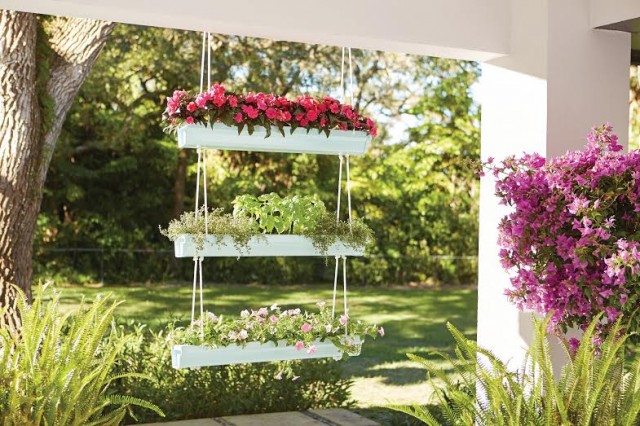
The project that inpired me for the party is this super cute 3 Tier Gutter Planter.
Each of us girls made one of these and put our own spin on it.
Here is the supplies you will need:
- 1 – 10ft. White Traditional Vinyl Gutter
- 3 Sets – White Vinyl K-Style End Cap Set (2-pack)
- 20′ – 1/4″ White Braided Nylon and Polyester Rope (rope cut at the store)
- 1 pk – 1/4″ x 2″ Zinc-Plated Rope S-Hook
- 2 – 3 3/4″ Steel Screw-In Plant Hook
Optional Materials:
- Exteror Spray Paint that adheres to plastic and any accessories for application
Tools:
- Heavy Duty Scissors or Box Cutters
- 3/8″ Drill Bit
- Drill
- Jigsaw
- Measuring Tape or Carpenter’s Square
- Pencil
- Safety Gloves
- Safety Glasses
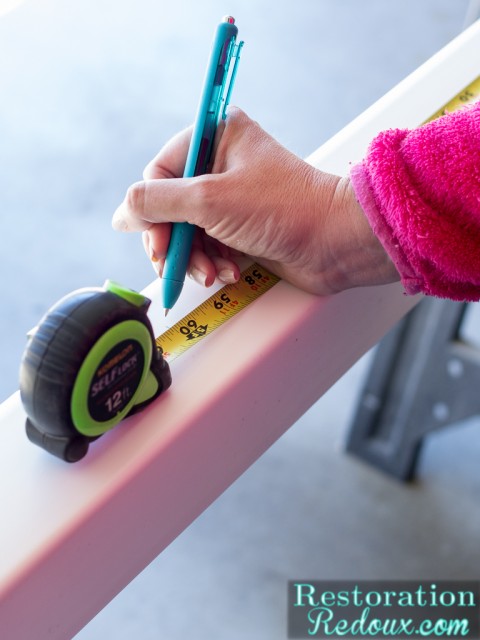
1. MEAURE AND MARK
Measure and mark three 30″ sections from the 10′ gutter and the two 10′ sections from the rope.
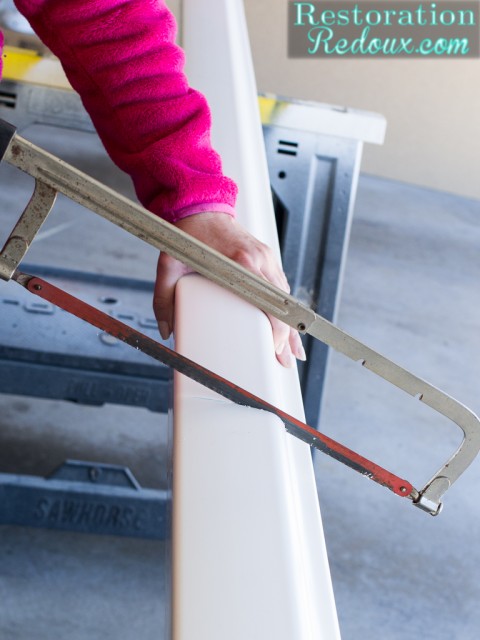
2. CUT
Cut the three 30″ sections from the 10′ gutter using the jigsaw. We didn’t have a jigsaw, so we used a hacksaw instead. Then cut two 10′ sections from the rope using heavy duty scissors or a box cutter.
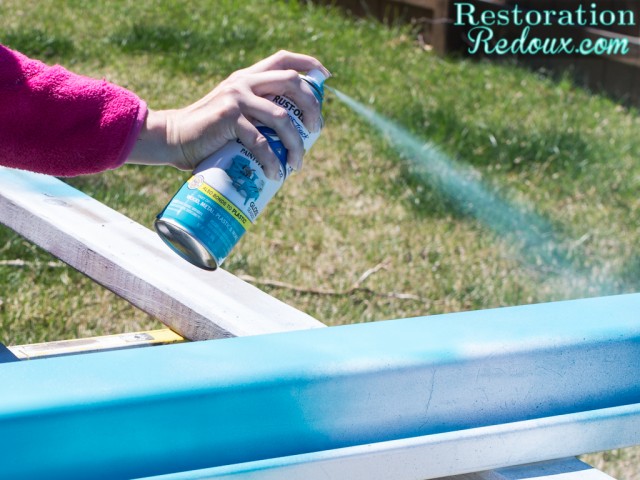
3. PAINT OR STAIN
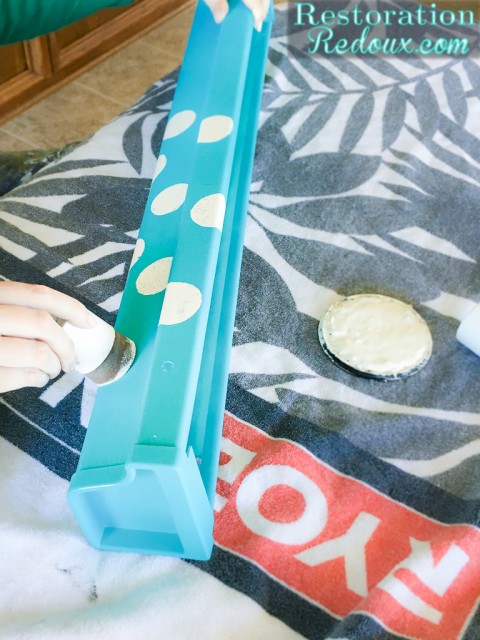
If you want to change the color of the gutters, use an exterior spray paint that will adhere to plastic. Paint all gutter pieces prior to assembly.
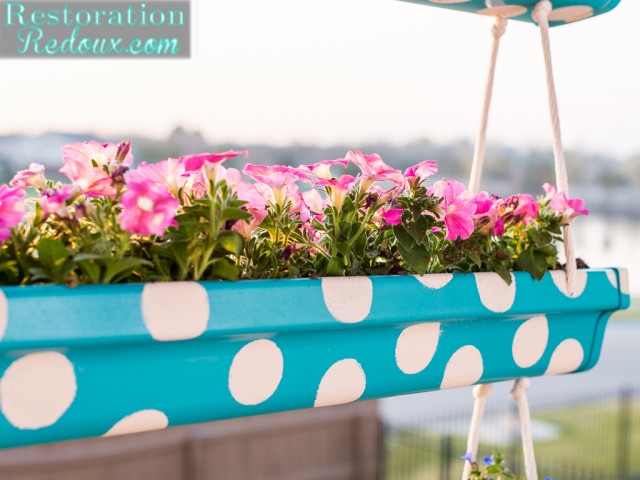
I used this Martha Stewart set of pouncers that I got from Home Depot to make my little polka-dots.
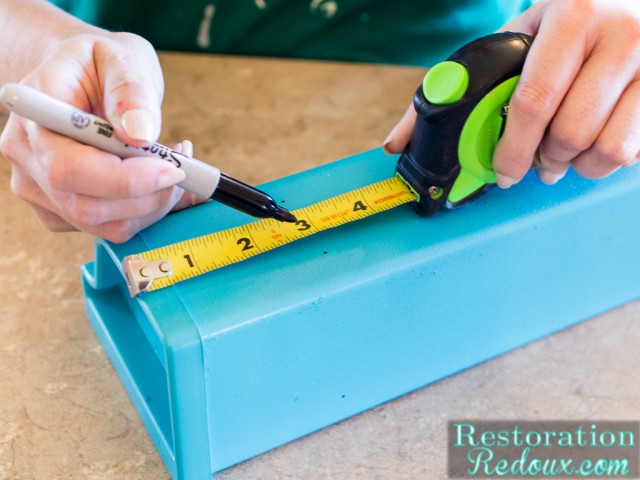
4. MEASURE GUTTER HOLES
Turn all gutters upside down. Measure and mark 3″ in from the short side and 1/2″ in from the long side on all four corners of all three gutter sections. Next, turn all gutters right side up. Measure and mark 3″ in from the short side and 1/2″ from the long side on all four corners of all three corner sections. You should now have two marks on each side of all three gutter sections.
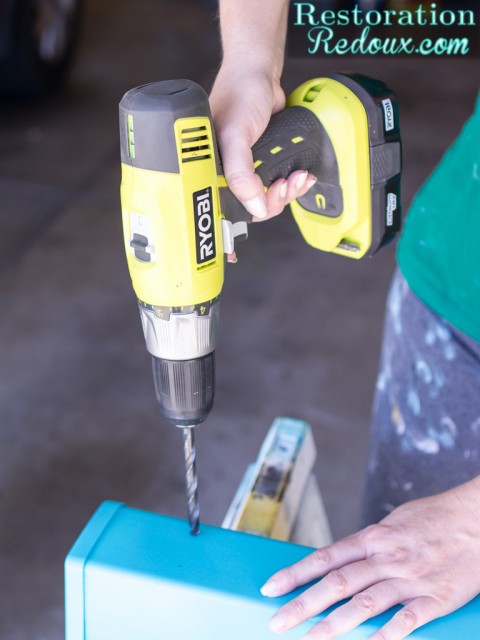
5. DRILL ALL HOLES
Using a 3/8″ drill bit and drill, drill holes where the marks were made. There should be four holes in the bottom and two holes toward the top, outer sides of all three gutter sections. TIP: Depending on the type of plants used, you may need to drill several very small drainage holes on the bottom of the gutter section to allow drainage.
6.THREAD ROPE AND TIE KNOTS
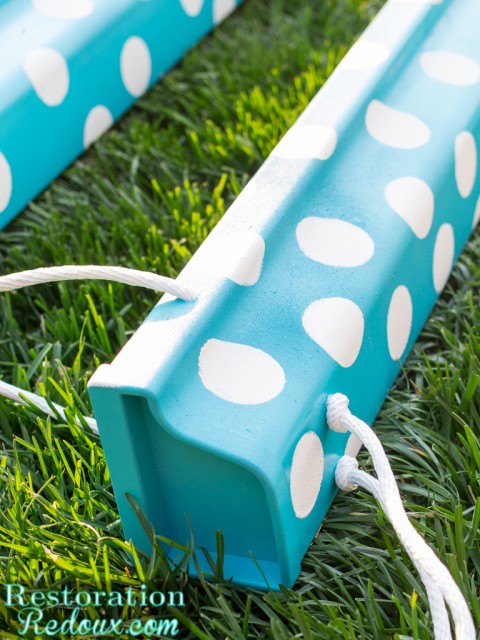
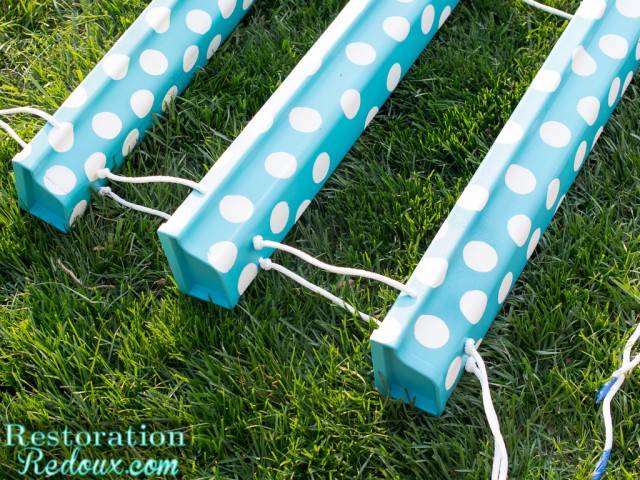
Tie a knot at one end of the 10′ rope. Thread the unknotted end of the rope through one of the holes in the bottom of the left gutter section and then out the hole in the side. Repeat threading up through the bottom hole and out through the side hole on the next two left gutter sections. Be sure to measure 12″ of slack and tie a knot between the second and third sections.
Once all three gutter sections have been threaded, loop the rope and thread it back down the inside hole of the left gutter. Once the rope has been threaded down through the last remaining bottom hole of the third gutter section, be sure to make a final knot and cut any excess rope. Repeat these steps for right side of the gutter with the other 10′ rope. TIP: Wrapping the end of the rope with tape makes threading easier.
7. PLACE CAP ENDS
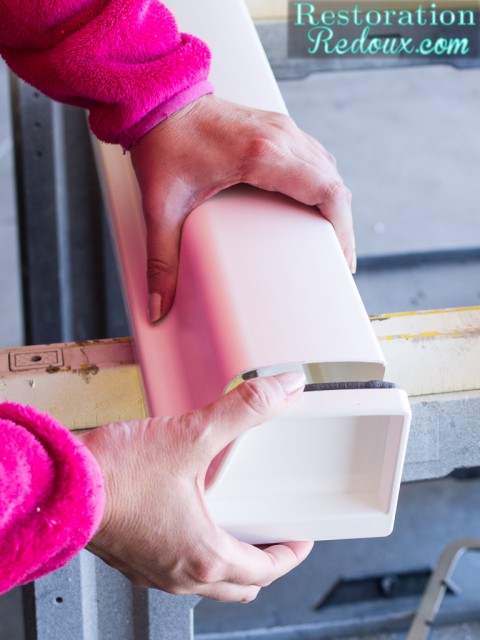
Place White Vinyl K-Style End Caps on the ends of the three gutter sections. We did this step a little earlier without any issues.
8. LOOP HOOK AND HANG
Secure Plant Hooks into a beam or support where you intend to hang your garden. Loop the two S-hooks on each side of the top ropes and hook the S-hooks to the installed Plant Hooks. Once hanging, loosen and adjust the knots beneath each gutter section until they hang level.
Wouldn’t this make the perfect Mother’s Day gift?
If you would like to make your own Gutter Planter, Home Depot is having a DIH (Do-It-Herself) Workshop, Thursday April 21st, from 6:30-8:00pm. It’s totally free, and they will walk you through the project step by step!
If you haven’t heard of Home Depot’s workshops before, here is a little about them:
There are three types of Workshops offered: Do-It-Yourself (DIY), Do-It-Herself, and Kids.
The Home Depot offers Workshops at all of their locations for do-it-yourselfers of all ages and all experience levels.
Customers can learn how to build decor projects, how to make easy home repairs, and how to operate tools through demonstrations and step-by-step instructions.
Visit http://workshops.homedepot.com to learn more!
Make sure you check out all of the other amazing ladies’ planters in the links down below!
The Creative Mom
Her Toolbelt
A Girl and a Glue Gun
Make It Love It
Live Laugh Rowe
My Fabuless Life
Place of my Taste
Hawthorne and Main
House By Hoff
Domestically Speaking
My Repurposed Life
Designs By Studio C
Cupcakes and Crinoline
All Things Thrifty
Lou Lou Girls
Reality Daydream
Over The Big Moon
Pretty Providence
The Rustic Life
The Glam Farmhouse
Boxwood Avenue
Our Vintage Farmhouse
A House and a Dog
*I acknowledge that The Home Depot is partnering with me to participate in this Workshops Program. As a part of the Program, I am receiving compensation in the form of products and services, for the purpose of promoting The Home Depot. All expressed opinions and experiences are my own words. This post complies with the Word Of Mouth Marketing Association (WOMMA) Ethics Code and applicable Federal Trade Commission guidelines.
Parties I link to:
DesignDiningandDiapers, SugarBeeCrafts, TaterTotsandJello, HomeStoriesA-Z, TheHappyHousie, FunkyJunkInteriors, CupcakesandCrinoline,CedarHillFarmhouse, TheHeatheredNest, DIYShowoff, MyUncommonSliceofSuburbia, TheChelseaProject, SkiptoMyLou, SavvySouthernStyle, LilacsandLonghorns,TheStripedHouse,MadeInaDay, AddisonMeadowsLane, 11MagnoliaLane, FunkyJunkInteriors

So freaking cute. I shared on my FB page. Good luck teaching! xo
Shanna,
Your spin of polka dots on the hanging gutter planter is so adorable! I love the color, and THAT view!
gail
Your polka-dots are SO cute!!! Love it!
Super cute and clever idea and i just love the polka dots.
The dots on the planter are so amazingly cute!!
We should have known your choice would involve Turquoise! It is fun & lighthearted just like Spring. Great job!
That is so cute, Shanna!! XO
Love the colors and the dots!!! Nice job!!
This is absolutely adorable!!!!! Such a creative idea! I’ve been to one Home Depot class and loved it!
That is so very adorable! I also like the turquoise and polka dot pattern. How do you water the flowers, though? Is there drainage?
Thank you Doreen. The plants are watered using a watering can, and there is drainage using small holes drilled into the bottom of each tier.
I love the polka dots! Such a wonderful project for this time of year.
I love it, Shanna! It is so perfectly YOU and absolutely awesome.
So pretty! I love the polka dots!
Love the polka dots!!!! So stinkin’ cute!!! I love the color too! Love it!!