I’ve got big news people!
No, not I’ve-cured-cancer or I’ve-figured-out-a-way-to-attain-world-peace news, but in Shanna Land … this is big news!
Topher and I have our defined roles as far as working on projects. I do the pretty stuff, and he does the stuff that could possibly maim you for life. Over the past year, I have been creeping little bits at a time over to Topher’s side. Learning how to use a drill, a nail gun, etc.
The one place I hadn’t ventured over to was using saws. Now this is where one could really get hurt. I watch have watched Grey’s Anatomy for years and lots of bad things (like losing a finger) can happen when people use saws. And I like my fingers.
I have seen so many other bloggers out there build things from scratch, and I knew that they must feel so proud of themselves for accomplishing something like that. So I decided to go for it.
We have had this glass coffee table for years, and I hated it almost immediately when we got it in the door. Do you know how many times a day I would have to clean that sucker? Constantly. Plus, the corners stick out — right at shin level!
So I decided to build a new one.
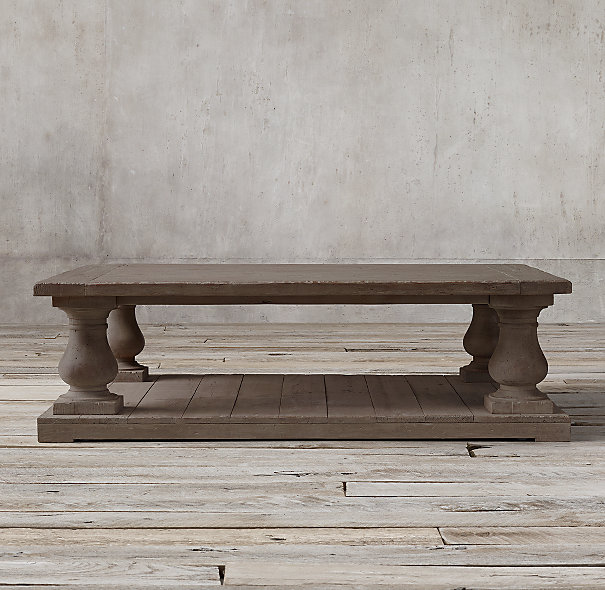
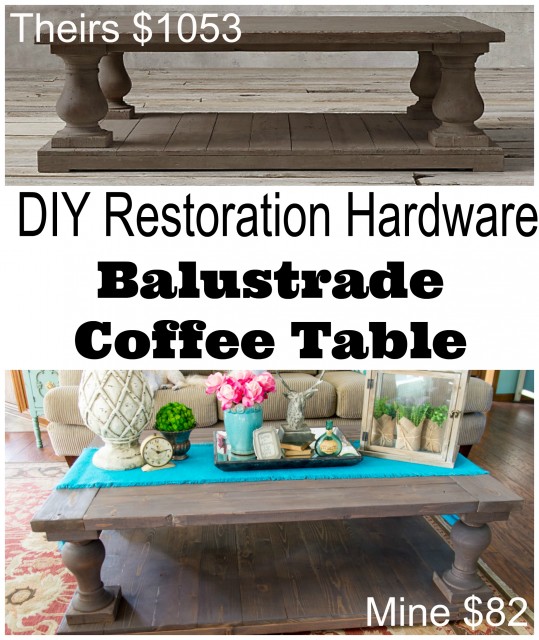
My dream coffee table would be this one from Restoration Hardware.
The one little problem is that it is $1053. Eeek!
I found this Restoration Hardware Knockoff table on The House of Wood. Not only is Jen ridiculously cute, she is also a talented musician AND a DIY rockstar. I know … life’s not fair folks.
Jen got her inspiration for the table from the talented Ana White, and you can go here to get your supply list. Osborne Wood did send me the amazing legs. They were less than $30 per leg, and since my very basic woodworking skills definitely weren’t going to produce beauties like these, it was a perfect solution.
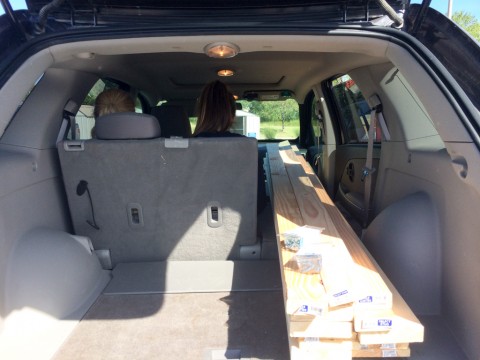
The first thing I did was to head to Lowe’s to buy my supplies. We had to get creative to get 8′ boards into a small SUV.
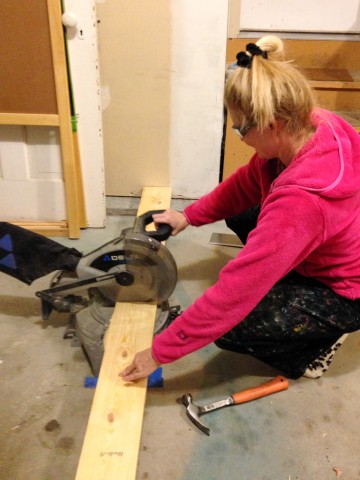
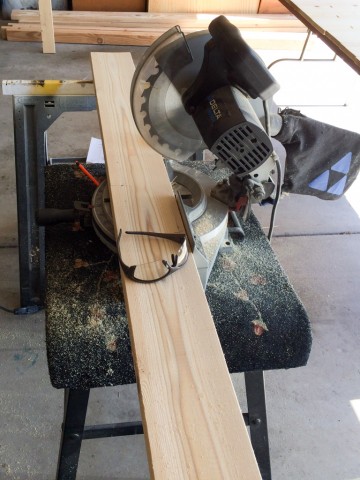
We decided to tackle the bottom section first. We started by marking our 1×6 boards to length and cutting them with a miter saw.
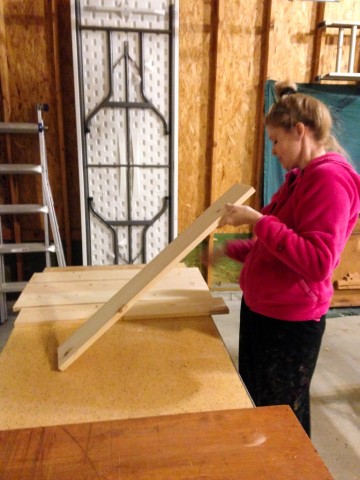
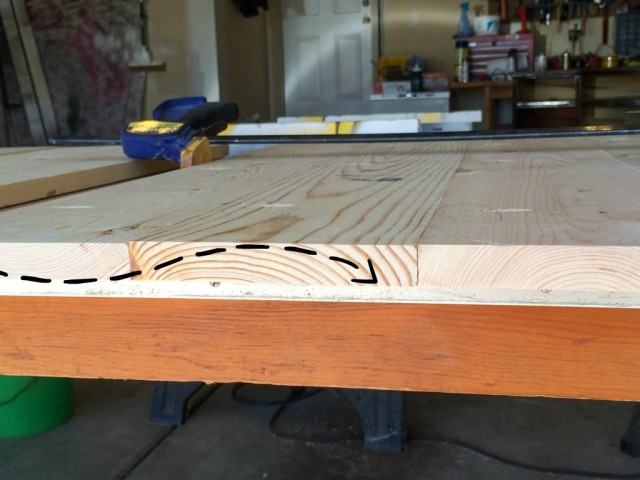
Once I had them cut down, I laid them out in the order I wanted. When doing this, you have to make certain your grain is alternating up / down / up / down / etc.
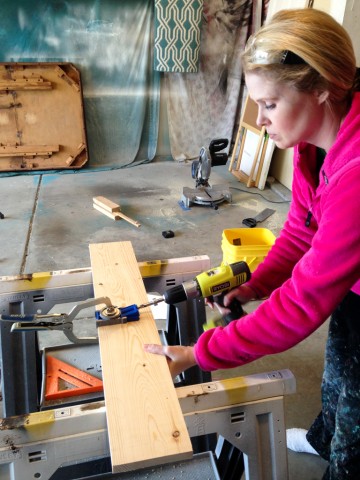
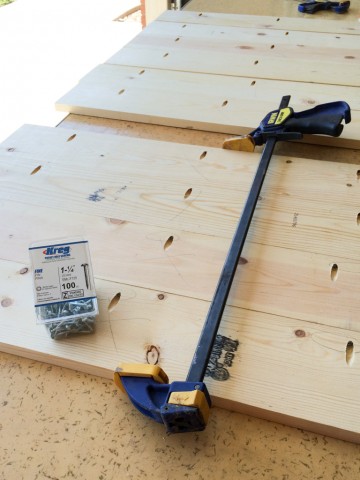
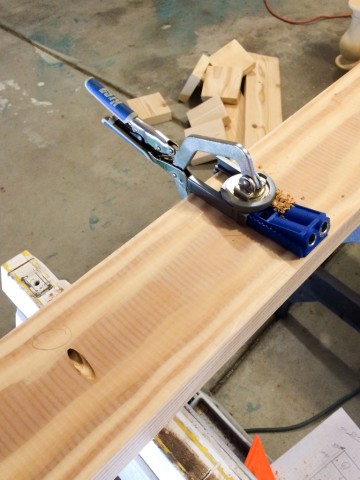
When I finally had the boards how I wanted them, we pulled-out my Kreg pocket hole jig and started-in drilling pocket holes to help secure the boards together.
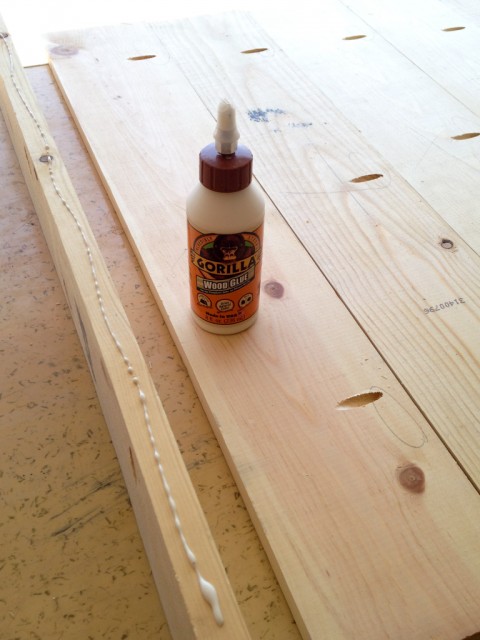
To secure the boards together, we applied Gorilla Glue wood glue, lined them up, and screwed the pieces together through the new pocket holes, clamping as we went.
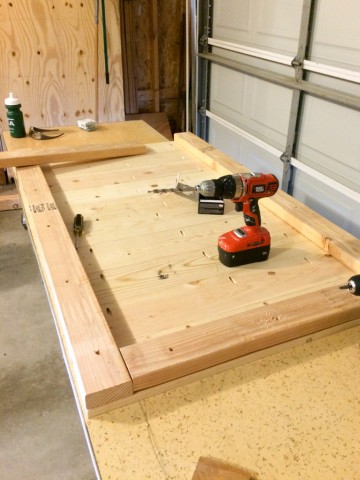
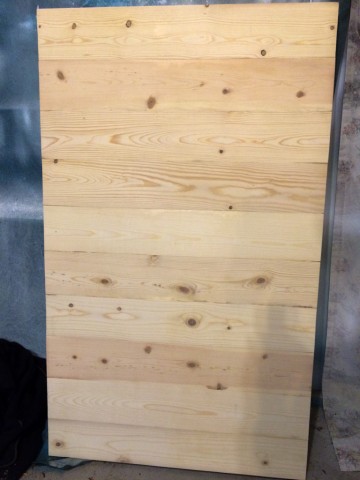
When all the 1×6 boards were together, we added the 2×4’s along the bottom for support. These, we attached with wood glue and screws through the bottom.
Once that was all complete, I sanded it down to smooth out the rough spots.
For the top, we used similar steps for the 2×6 boards, but the lengths were different because of the orientation, so we cut them down, using my miter saw, per the plans I mentioned above.
Once all the 2×6’s were cut, we drilled our pocket holes and secured them together with glue and screws.
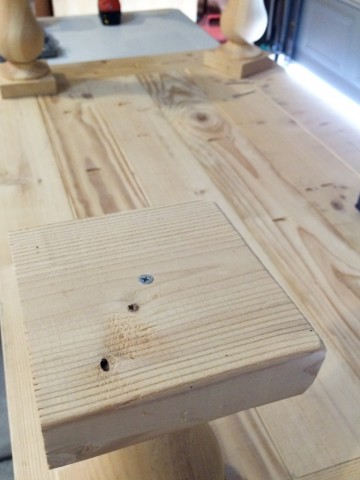
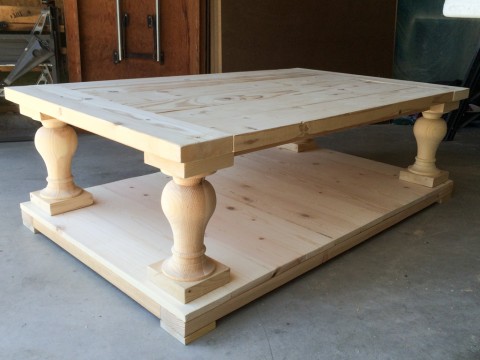
For these beautiful legs, from Osborne Wood, we attached 2×6 squares using glue and long screws. The only thing to really watch here is to make sure you line up the top and bottom squares so they’re “going the same direction”.
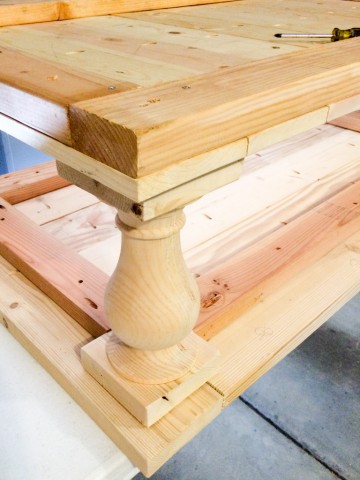
Then we attached the legs to the bottom shelf using long screws through the bottom (so they aren’t visible).
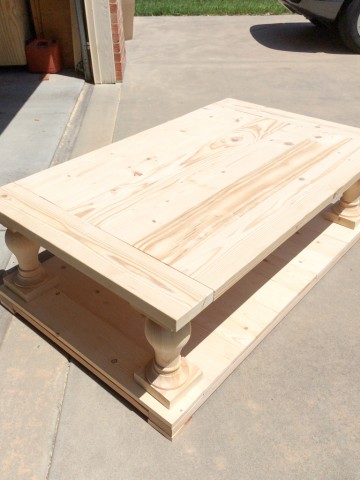
Since the table is upside down in the photo below, you can also see the bottom side of the top. We’ve used pocket screws and glue to create a support frame for the top piece, but at this point it’s all screwed together as a rectangle (including the legs), but isn’t attached to the underneath side of the top yet.
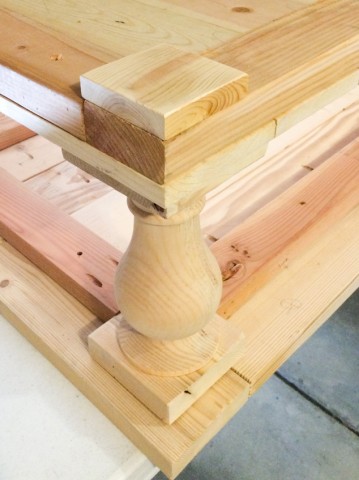
While the table is upside down, we also cut and secured 1×4 square pieces to the corners for feet.
Then we attached the support to the underneath side of the top, flipped it over, and checked out the table I made…
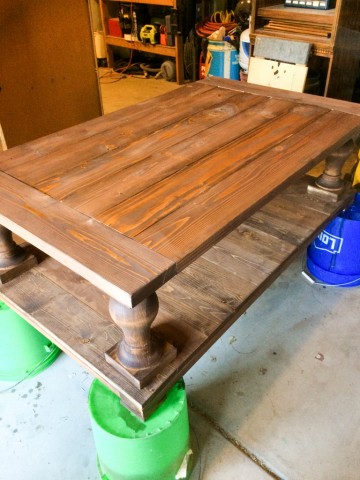
Next, we applied a coat of Minwax Special Walnut stain.
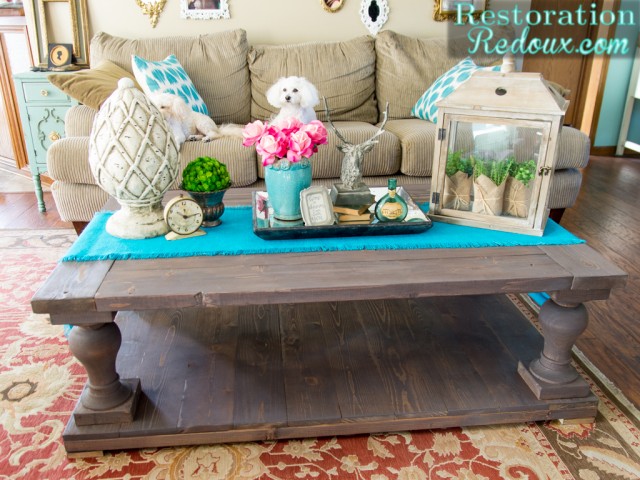
And then we applied another coat of stain, but used Minwax’s Classic Grey.
Once it dried, we brought it inside and replaced that glass one with this Shanna Original (well sort of original).
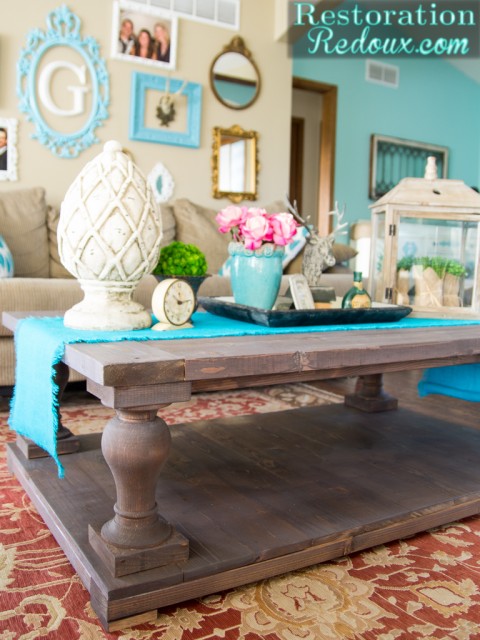
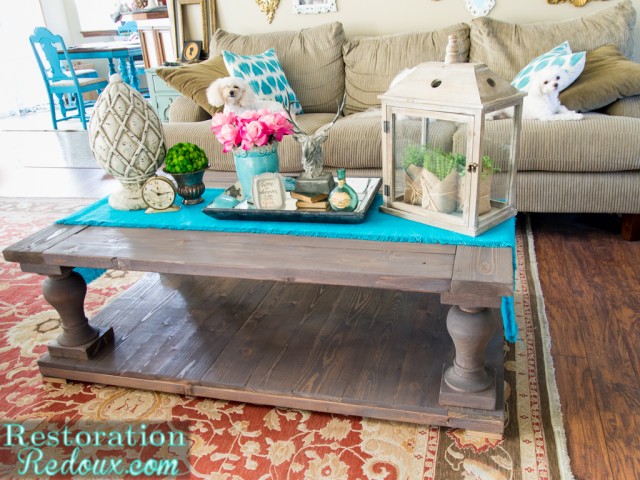
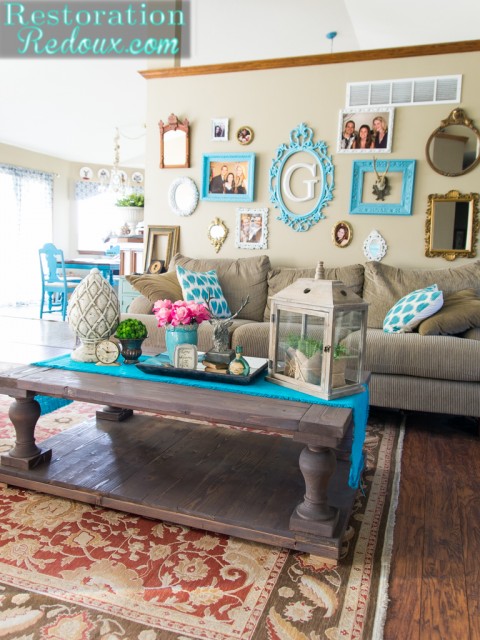
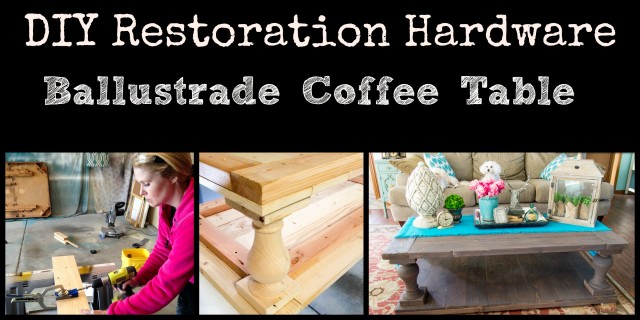
So here’s the finished project my friends! Can’t believe I built my own DIY Restoration Hardware Coffee Table!
Restoration Hardware’s Balustrade Coffee Table $1053. My coffee table cost a whopping $82.
I’m trying to decided whether I should leave it as is, or lightly white wash it. What do you think?
Make sure you check out all of the other ladies projects down below!
This is a 2-Day Event!
Please make sure you come back to see all the posts shared on Friday, also.
All of these projects will also be shared on Hometalk.com -look for the #LowesDIYDays hashtag!
~ Thursday Projects ~
Sondra at Sondra Lyn at Home: Reversible Checkerboard Wooden Tray
 Sarah with Home-ology Modern Vintage: DIY Concrete Cacti Planter
 Doreen with Hymns and Verses: DIY Jute Rope Love Sign
 Anne with White Lace Cottage: Easy DIY Coasters
Allison from Two Thirty-Five Designs: DIY Seagrass Bike Basket
~ Friday Projects ~
***Friday links will not be active until Friday, June 26th at 6am EST)***
Barb at The Everyday Home: DIY Cutting Board
Meegan at What Meegan Makes: DIY Clamp and Crystal Sun Catcher
Jen at Girl in the Garage: DIY Bracelet Stand
Debbie at Refresh Restyle: Industrial Cage Light
Shanna at Restoration Redoux: DIY Coffee Table
*** Please pin – but be sure to pin from the original source to give each blogger proper credit.
I hope you’ll visit each one and leave some comment love on their site!


Love it! I’m so impressed, it looks amazing! I used to own a coffee table from Restoration Hardware and I gave it to my brother and his wife when I got married and moved to California, and I just saw it in a picture they posted recently on facebook. It has been completely destroyed by their dogs. Makes me so sad because I loved that coffee table.
Love it!! So glad you still have all your fingers 🙂
Debbie
Okay, you TOTALLY win for the most daring + impressive creation! Your table turned out fabulous, and I’m a little jelly of it. (So happy to see that you still have all your digits) 😉
I love the coffee table! I don’t understand the cost. You say $82 but the 4 legs were $30 each? Was $82 what you spent at Lowe’s? Please explain. Thanks.
Thanks Laurie! Osborne Wood sent me the legs for free so it actually only cost me $82.
How did you get the legs for free? Did they do it for the publicity? Thanks, Laura
Hi Laura! Yes they do it for the publicity.
Shanna! Such an amazing job! I love your inspired coffee table. It looks perfect in your home.
Thanks for the inspiration.
Impressed the heck out of me Shanna! I love your Restoration Hardware inspired coffee table – gorgeous. Fantastic tutorial too! My son just bought his first home and they need a coffee table. Definitely pinning this to share with them.
I think Lowe’s will cut boards to the length you need, just in case they don’t fit in your vehicle.
Beautiful table! Love the way you used two different colors of stain – I never thought of that before…
WOW – WOW – WOW – Yes, this project deserves three WOW’s! I so want to make one of these for my family room! We are updating it this fall and I’m pinning this for then! Thanks so much, Shanna, for the inspiration and detailed instructions! It was fun partying with you!
WOW! I am so impressed! This looks so much like the high dollar version!! Great job
I LOVE it! And I had to laugh about your comment about still having all your fingers because I totally feel the same way every time I use a saw.
Thanks Cat! I’m glad I’m not the only one!
Okay! That is really awesome. I always love the look of restoration hardware but the price…Ugh. I took a woodworking class in college, but I usually let Adam do all the sawing. This makes me want to try my hand at it again.
Hands down, yours is way better! What a fantastic job!!!
You did an amazing job! I am so impressed! Thanks for linking up to the Handmade Hangout- I’ll be featuring you today when the new linky goes live on my blog at 6pm ET. Hope to see you there!
That coffee table looks AH-MAZING!!! And, you aren’t maimed for life! Way to go you! 🙂 so happy to have found your blog, you’re projects and writing style is awesome
We are going full-on Restoration Hardware in our living room and this is right up our alley. I am so glad to see you tried this first so now we’ll follow suit. LOVELY job btw! I’m excited, this has been on my radar for such a long time!
Beautifully done coffee table! Just as nice as the original!! Really like your work. Give a woman a powers and she can build (almost) anything!! I just love power tools!!
Great tutorial. I plan to try this at some point. I do have to point out that if you look at the inspiration table and then look at yours, you put the legs on upside down.
Thanks Kyle! You’re absolutely right! I just preferred the look of it the other end up but you can do it either way.
Gotcha! Thank you so much for the tutorial! I plan to make my own soon.
I love the table!!!! Great job!!!! You said the legs cost $30 each but you said the whole table cost youe $83???? The math is wrong….
Hi. the table looks amazing. Very impressive. The only difference between your table and RH table is the legs, either yours or theirs are upside down. But if I didnt see their table probably I wouldnt have noticed it. Sorry I couldnt help it.