Yesterday was a cold one here, and I know most of you are dealing with freezing temperatures there as well.
We got some snow but not a massive amount like some of you. We just had crazy wind and below-frigid temperatures.
That’s not good news when you have projects that need to be spray painted and Christmas lights that needed to be taken down. Sadly, all of the Christmas decor is now stored away, and my house looks naked and bare.
Yesterday was not the best day for me. I had a massive migraine, and I am pretty sure I broke my toe. Topher was nagging at me about my craft room being out of control (not that he was wrong … but still).
So I was clearing-off one of the shelves, and my heavy brass owl fell off and landed on my toe. It was the kind of pain where you can’t even produce a sound it hurts that bad, which is good because you wouldn’t have wanted to know the words that were floating through my head at the time. It is amazing at how much pain can be produced from such a teeny body part.
I think it was God’s way of saying that I am meant to have a craft room that looks like a tornado hit it. So Topher’s nagging is literally causing me physical pain.
Remember that dear.
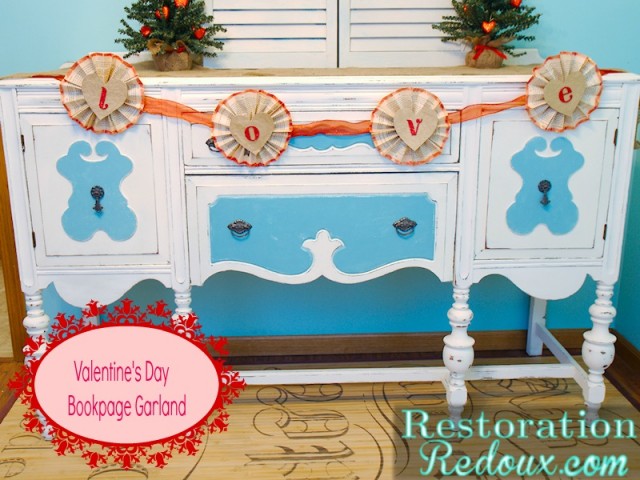
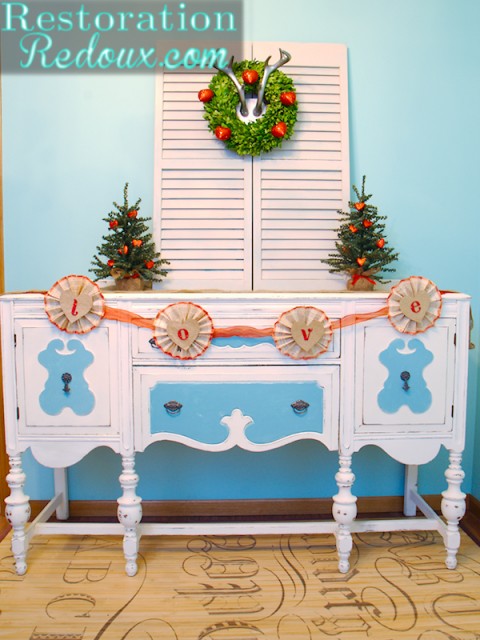
Since my head and my toe were throbbing, I decided to sit down and get to work on a Valentine’s Day Bookpage Garland project for my newly naked house.
Here is what you need:
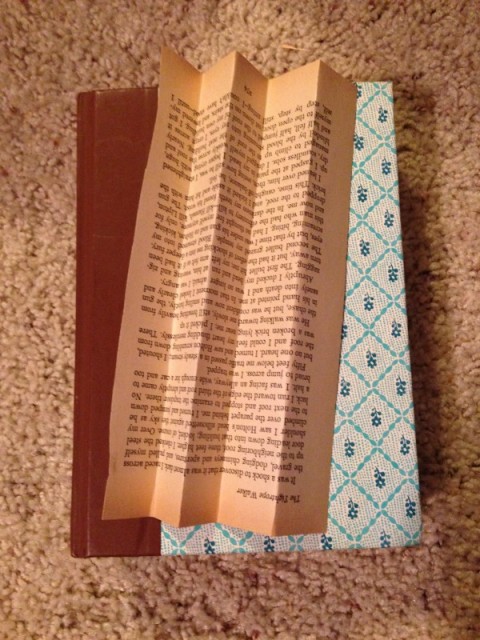
16 book pages (mine were vintage but they don’t have to be)
- some string or twine
- A piece of cardstock
- some ribbon
- some glitter (I used red but you can use any color)
- and some glittered letters (I used premade one’s from Michael’s but you could cut your own out of cardstock)
- a piece of decorative scrapbook paper (wrapping paper would work fine also)
- and a hot glue gun
First I took all 16 bookpages and fan folded them.
Next I took 4 fan folded pages and tied them together in the center.
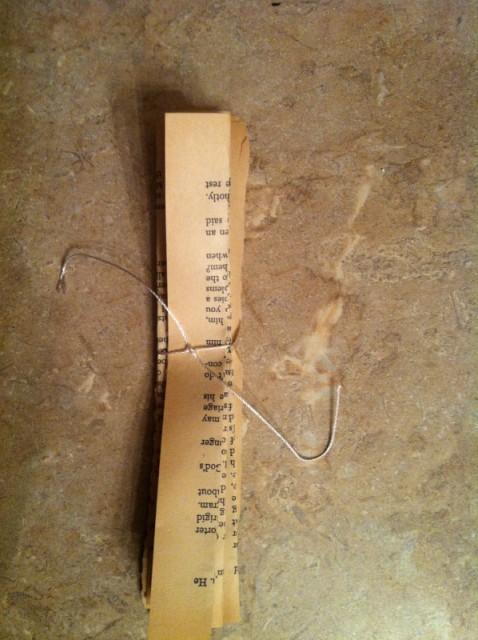
I then hot glued each section together top and bottom. I then hot glued the top and the bottom of the pages on the outside together to form circles.
Next I cut out hearts out of the cardstock.
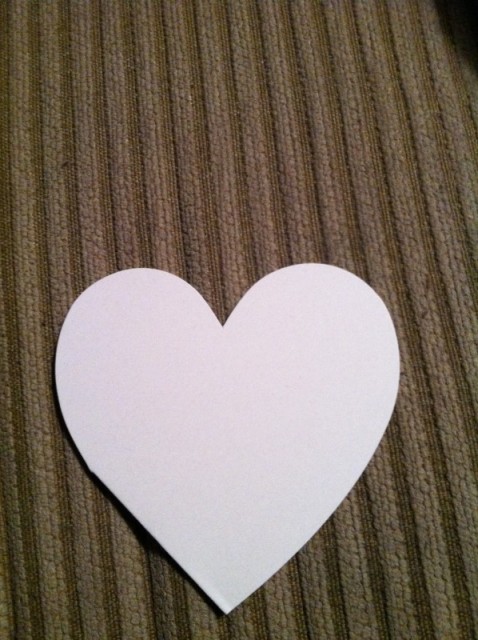
I then laid the cardstock heart on top of the scrapbook paper and cut a heart out of that.
I then glued the scrapbook paper heart onto the cardstock one.
I then repeated this 4 more times.
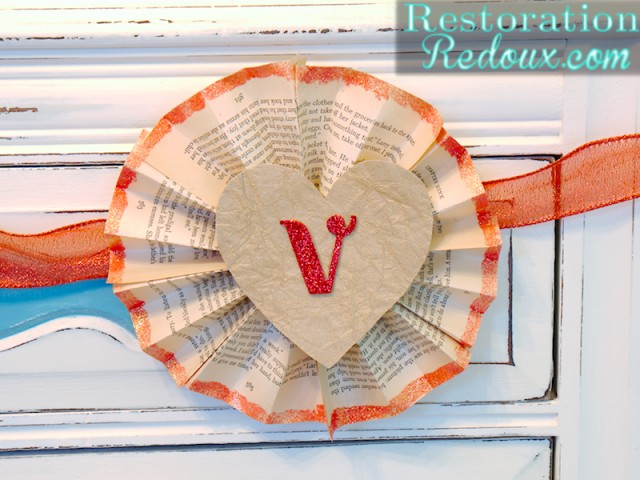
Then you glue your heart onto the middle of your bookpage circle. Next glue your glittered letter in the middle of your heart.
I then used a small paintbrush and brushed on Elmer’s glue on the edges of the bookpages and sprinkled on some red glitter.
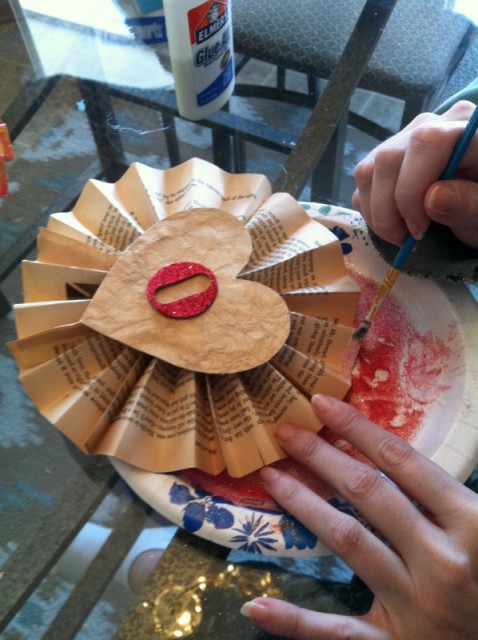
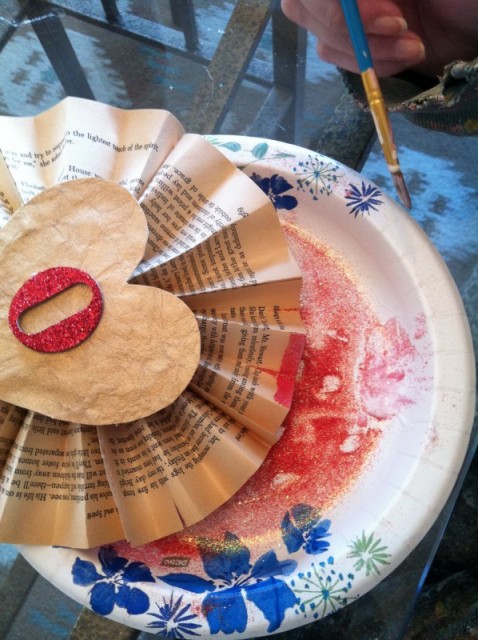
I did this over a paper plate so that I didn’t make a mess.
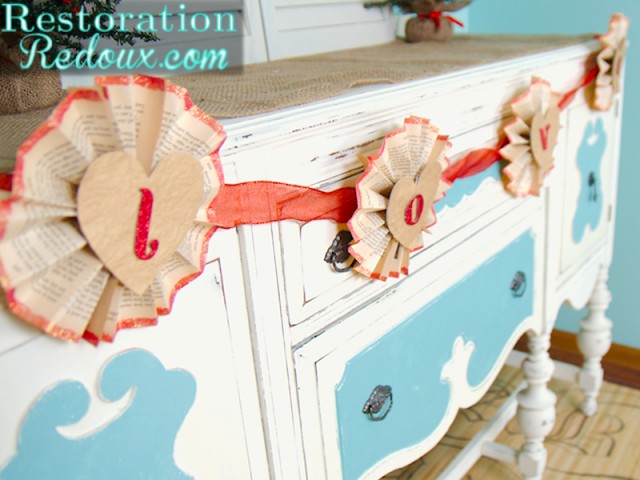
Next take your ribbon and measure out how long you would like it to be, and mark off where your want your bookpage circles.
Last glue your circles onto your ribbon, and you are then ready to hang it up!
I was lazy and just spelled out L-O-V-E, but you could spell out Valentine, or Be Mine, etc.
Well, I have a long way to go before my house is fully decorated for February 14th, but at least I have the first one crossed off the list!
Don’t forget to sign up for the $475 Paypal Cash Giveaway!!!
Parties I Link to:
The 36th Avenue – Adorned From Above – Alderberry Hill – Be Different Act Normal – Beneath My Heart – Between Naps on the Porch – Boogieboard Cottage – Carolyn’s Homework – Cedar Hill Ranch – The Charm of Home – Chic on a Shoestring Decorating – Cindy’s Romantic Home – Coastal Charm – Common Ground – Cozy Little House – Craft-O-Maniac – Craftionary – The Crafty Blog Stalker – Cupcakes and Crinoline – Debbiedoo’s – The Dedicated House – A Delightsome Life– Design, Dining + Diapers – Designed Decor – Diana Rambles – DIY by Design – The DIY Dreamer – DIY Showoff – Domestically Speaking – Elizabeth & Co. – Embracing Change – Finding Fabulous – Flamingo Toes – Fluster Buster –French Country Cottage – From My Front Porch to Yours – The Frugal Girls – Funky Junk Interiors – Funky Polkadot Giraffe – Gingerly Made – Gingersnap Crafts – The Girl Creative: Project Inspire – A Glimpse Inside – The Gunny Sack – Home Stories A2Z– House of Hepworths – House of Rose – House on the Way– I Heart Naptime – Inspiration Cafe –It’s Overflowing – Katherine’s Corner – Knick of Time Interiors – Just Us Four – A Little Knick Knack – Live Laugh Rowe – Living the Mod Vintage Life – Liz Marie Blog – Made in a Day – Making the World Cuter – Miss Mustard Seed – My Girlish Whims – My Uncommon Slice of Surburbia – Naptime Creations – Nifty Thrifty Things – No Minimalist Here – Not Just a Housewife – The NY Melrose Family – Rain on a Tin Roof – Redoux Interiors – Romantic Home – Savvy Southern Style – Seven Thirty Three – Shabby Art Boutique – The Shabby Creek Cottage – The Shabby Nest – Simply Designing – Skip to my Lou – Smart School House– Someday Crafts – Stone Gable – Sugar Bee Crafts – Sumo’s Sweet Stuff – Tatertots & Jello – Thirty Handmade Days – Three Mango Seeds – Today’s Creative Blog –Too Much Time on my Hands – Uncommon Designs – Under the Table and Dreaming– The Vintage Farmhouse – Whipperberry – White Lites On Wednesday –
So cute! Thanks for sharing!
Thanks Lindsay!
Awesome idea! I may have to whip one of those up myself today… We aren’t going anywhere soon, as we are snowed in and everything is closed in our town. UGH!
Cute project! Where did you get your glitter letters?
Thanks Laura! I got them at Michael’s. Have a great weekend my friend!
Pretty spiffolla!!
Chocolate read a book day for me.
Thanks Joy! That sounds good to me!
Love it! Hope your toe is feeling better today.
Thanks Marie! It is a bit better now. Have a great weekend!
So sorry about your toe!! I broke my toe last year and it was so painful!! Love the garland!! Super cute!!
This is really adorable! Great tutorial too..come link up to Centerpiece Wednesday and share this post with us. http://thestylesisters.blogspot.com/2014/01/centerpiece-wednesday-108.html
Karin
Oh no! Hope your toe is better today. Love, L.O.V.E that Valentine’s Day garland. I’m pinning. xoxo
Thank you Clydia! Have a great week!
Great banner Lindsay! I just finished my Valentine banner yesterday, so fun. Love the book pages you used. (I also love your vintage buffet) I’m so glad that we have Valentines Day after Christmas. It gives us a chance to do some fun decorating after the let down of the holidays ending. Thanks for sharing your great tutorial with us. Have a grand weekend! hugs, Edie Marie
Thanks Edie Marie! I love decorating for the holidays. I always hate when Easter is over and we have a long wait before the 4th. It makes decorating less fun 🙁
Love this! I signed up for a valentine garland exchange and I’m going to use your book page idea! Thanks for sharing!
Thanks Rhonda! I would love to see yours!
I love your banner! I keep wanting to make one like this with the ‘fan’ circles, I have lots of old books, I really need to get at it!
Debbie 🙂
Thanks Debbie! I’m sure yours will be great!
Hello! Thanks for linking to last weeks Whimsy Wednesdays! I wanted to let you know I featured you today in my I Heart Valentine’s Day Craft roundup! Love the book page garland!
You can see the post here http://www.ohmy-creative.com/valentins-day/heart-valentines-day-crafts/
Grab a button is you like and have a great day!
Susan
Great! Thanks so much Susan!
Ouch! I hope your head and toe are feeling better! This garland turned out super-cute, though, so maybe you should craft injured more often, lol! 😉 Thanks so much for linking up at Hit Me with Your Best Shot! Hope to see you back tonight!
~Abby =)
Thanks Abby! You wouldn’t think the crafting world would be so dangerous! I don’t remember a week that I didn’t have at least a glue gun burn!
I love the banner! I’ll definitely be making one of these!!! Thanks for such great directions.
Very pretty banner. and I like your little trees with hanging hearts!
This is so cute and you made it look really easy! Thanks for sharing it on the blog hop!
Ouch sorry about your toe. Love the banner. Thank you for sharing at the Thursday Favorite Things Blog Hop . Big Hugs
The garland is absolutely BEAUTIFUL! I MUST show my parents that buffet! My parents have one almost identical! I keep telling them to paint it, and they keep resisting hehe
Super cute! Thanks for sharing tutorial!
Hope you have a wonderful week!
Hugs from Portugal,
Ana Love Craft
http://www.lovecraft2012.blogspot.com
Thanks so much Ana! Wow Portugal! I would love to visit you someday!
This looks wonderful, Shanna! Love it against your buffet/sideboard! I will be featuring your post in this week’s Home and Garden Thursday,
Kathy
I love this project! the over-sized rosettes and the way you glittered the edges make the letters really pop. Thanks for sharing!
Thank you Lisa!